Table of Content:
1. Start Project from Scratch
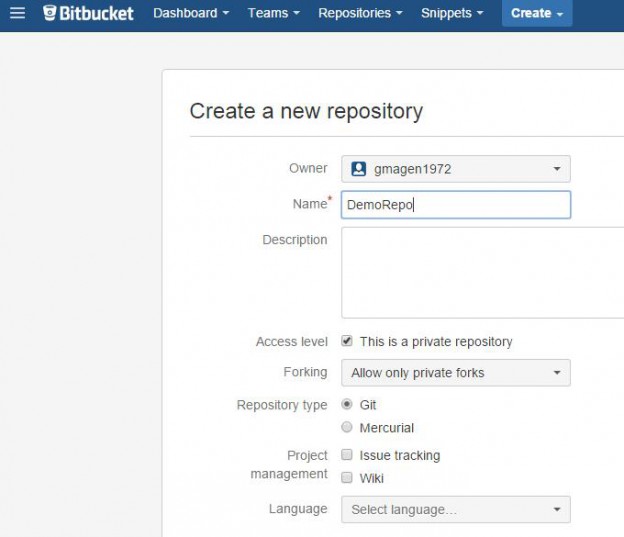
- Create a Repo at BitBucket:

- Create a directory at local drive.
- Init Git at selected directory: Inside the directory right click and select “Git Init”.
- Add remote Repo to Local Directory: Inside the directory right click and select “Git GUI”.
- At Git select from Menu: Remote->Add.
- At the dialog, at name enter there a name for root branch and at the location enter there the address of remote repo.
- Move files into directory.
- Right click the directory and select “Git GUI”.
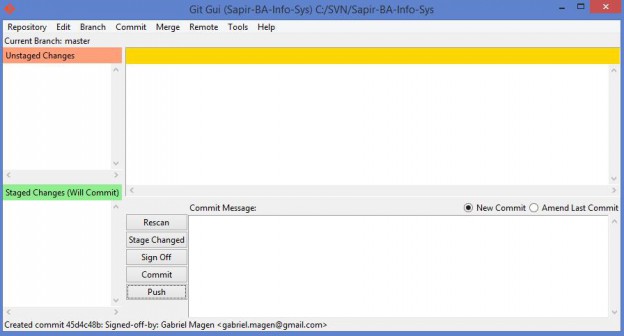
- At Git Gui, in order to commit, click on Stage Changed, then on Sign off, then on commit, then on Push:

2. Download a Repository and start working with it
- Right Click and select “Git Gui”.
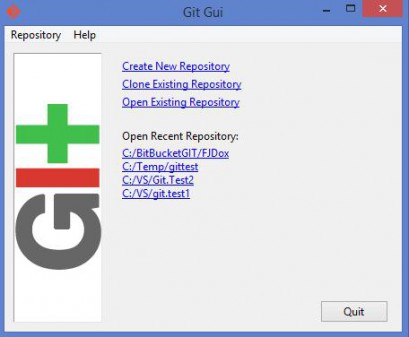
- At Git select “Clone Existing Repository”

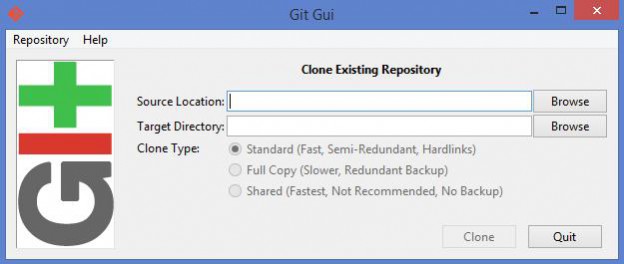
3. At Source location paste there the address of the Repo.

4. At Target Directory write there the target directory and click on clone.
5. Git will ask to enter password for Repository. You will have to enter the password 3 times.
External inks:
