Category: Programming
-

Naima’s Break Into Tech Journey: A Photo Story
Discover the inspiring journey of Naima, a woman breaking into the tech world. Follow her on TikTok for motivation and tips on navigating the industry.
-

Download Script for Demo Video – Temu
Learn how to create a demo video with our downloadable script. Enhance your search engine optimization strategy with this helpful tool.
-

Explore Chart.js and TailAdmin for Admin Panels with Vristo themes Installation
Learn how to create stunning admin panels using Chart.js with TailAdmin and Vristo.sbthemes. Easy installation on Azure GIT for efficient project management.
-

Easy Steps to Create an Input Data Form in WordPress
Learn how to easily create an input data form on WordPress with plugins like ACF, CTF, and Forminator, along with a tutorial on front end submission.
-
Create payments buttons with paypal
Login to your paypal account account. Browse to https://www.paypal.com/buttons/ Select and configure the button. Place the html code into your website. To localize, you can add the follwing to the generated html by paypal: <input type=”hidden” name=”country.x” value=”IL” /><input type=”hidden” name=”locale.x” value=”he_IL” /> HTML Variables for PayPal Payments Standard
-
WpEngine – Local, a wordpress development tool
Build, test, and deploy sites faster with the #1 WordPress local development tool. FREE DOWNLOAD Download #2 How to Use (Video) WordPress on Computer with Local | Localhost LocalWP | Flywheel | WP Engine
-
TutorialsTeacher – Learn ASP.NET MVC 5
Youtube Introduction to ASP.NET MVC in C#: Basics, Advanced Topics, Tips, Tricks, Best Practices, and More TutorialsTeacher Learn ASP.NET MVC 5
-
C# / MVVM / learning resources
MvvM MVVM – Introduction The well-ordered and perhaps the most reusable way to organize your code is to use the ‘MVVM’ pattern. The Model, View, ViewModel (MVVM pattern) is all about guiding you in how to organize and structure your code to write maintainable, testable and extensible applications. Model − It simply holds the data…
-
Visual Studio 2022 – How to
Video WebForms in Visual Studio 2022 (Getting Started) CRUD Operation In ASP.NET Core MVC Application From Scratch VS2019 Introduction to ASP.NET Core MVC in C# plus LOTS of Tips WPF Datagrid An EASY tutorial for Creating your first DataGrid in C# using WPF
-
.Net Windows / Linux / Visual code and development
.Net 6.0 Mono Mono Develop General How to Run C# in Visual Studio Code on Windows 10 2021
-
WordPress – Crud (Create / Read/ Update / Delete) methodologies
Code generator Youtube video of how to Explanation and code example wpdb class Github download Direct download
-
Python how and why
Setup environment Install python. Install VS Code Leaning resources Sololearn – Machine Learning Tools Gradio is the fastest way to demo your machine learning model with a friendly web interface so that anyone can use it, anywhere! GitBook brings all your technical knowledge together in a single, centralized knowledge base. So you can access and…
-
Display content inside Iframe – SameSite
Problem Upon opening window within iframe, the content of the window is displayed without cookies. For example: Solve it as follows a. Browse to chrome://flags b. Click Ctrf+F c. Search for “SameSite” d. Change all to disabled.
-
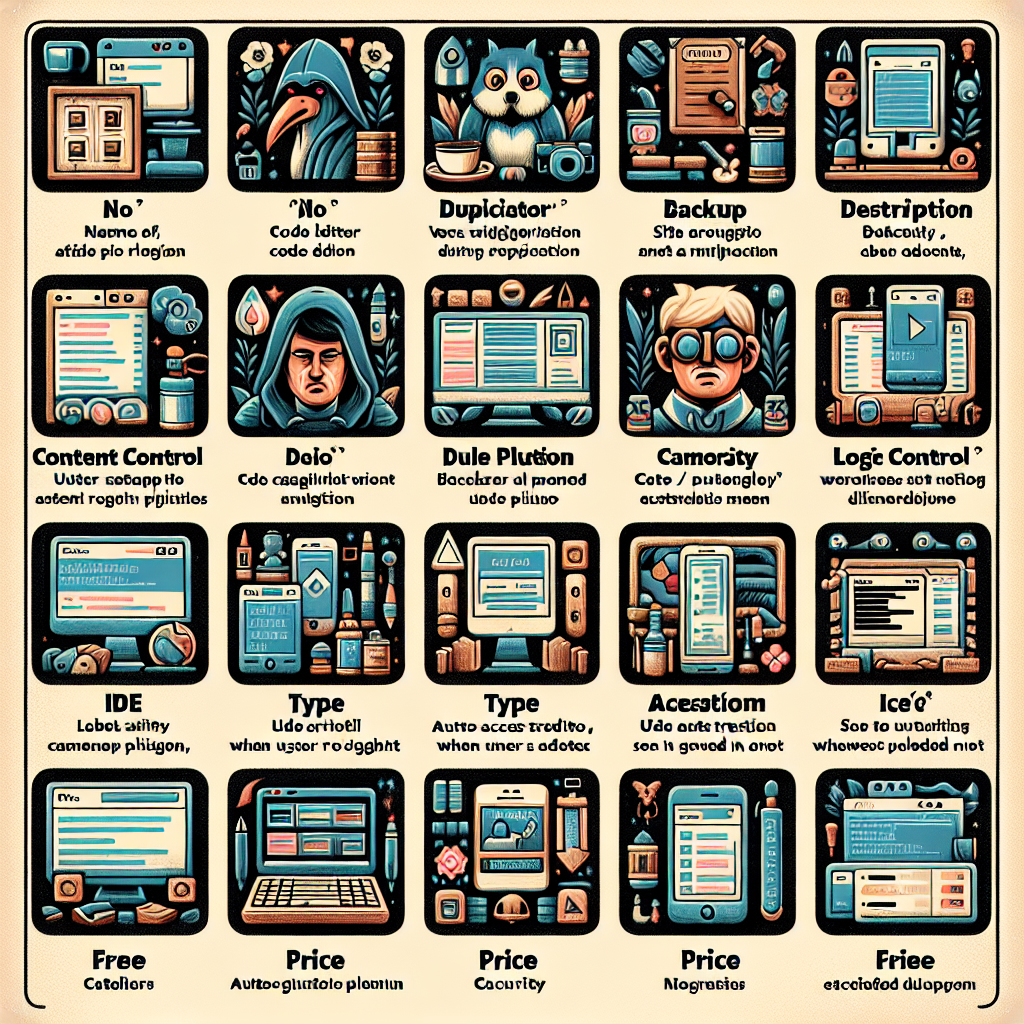
Top Free WordPress Plugins for Site Backup, Code Editing, User Access Control, and More
Looking for the best WordPress plugins to enhance your site’s functionality? Check out our top picks including Duplicator, AceIDE, Content Control, Login Logout Menu, and Duplicate Page. These free plugins offer features like site duplication, code editing, user access control, security enhancements, and easy post duplication. Improve your WordPress experience today with these must-have tools!
-
Cloud Development (Repl, CodeSandbox )
Comparison Google trends Repl.it Repl.it CLOUD DEVELOPMENT ENVIRONMENT Pricing languagesClojure, Haskell, Kotlin (beta)QBasic, Forth, LOLCODE, BrainFEmoticon, Bloop, Unlambda, JavaScript, CoffeeScript, SchemeAPL, Lua, Python 2.7, RubyRoy, Python, Nodejs, GoC++, C, C#, F#HTML, CSS, JS, Rust, SwiftPython (with Turtle), Django, Express, Sinatra, Ruby on RailsR, Next.js, GatsbyJS, ReactBash, Quil, Crystal, JuliaElixir, Nim, Dart, Reason NodeJsErlang, TypeScript, Pygame,…
-

Centralized post for WordPress development
Development Add menu item Example 1 – video Shortcode Simple shortcode example How to pass parameters to shortcode Call shortcode: [shortcode param1=’param 1 value’ param2=’param 2 value’] Read parameters: function shortcode_function($atts){ echo $atts[‘param1’]; //param 1 value will be displayed. echo $atts[‘param2’]; //param 2 value will be displayed.} Plugin Header Example 1 /*Plugin Name: Shortcode demoPlugin URI:Description: Shortcode…
-
Chrome Extension development
Official documentation Open HTML content for every new tab How to Create and Publish a Chrome Extension in 20 minutes Every click on Extension button, opens html popup How to Create a Chrome Extension in 10 Minutes Flat Works but JS issue occurs Chrome web store Publish to store (after paying 5 usd)
-

Scalismo – Change faces and morphology
A demo (Geektime) How to install Scalismo More demos Scalismo Faces Github Scalismo Github Scalismo Tutorials Vid2Vid Github
-

Growthparty Developer / Blogger / Creator / Marketer tools
Geektime GrowTheParty GrowTheParty Blogger Creator Developer Marketer Start a startup
-

Gitium – Plugin that pushes changes from wordpress to Git repo
A plugin that pushes changes directly from WordPress to Git repository such as Bitbucket or github. Plugin at wordpress Developers page
-
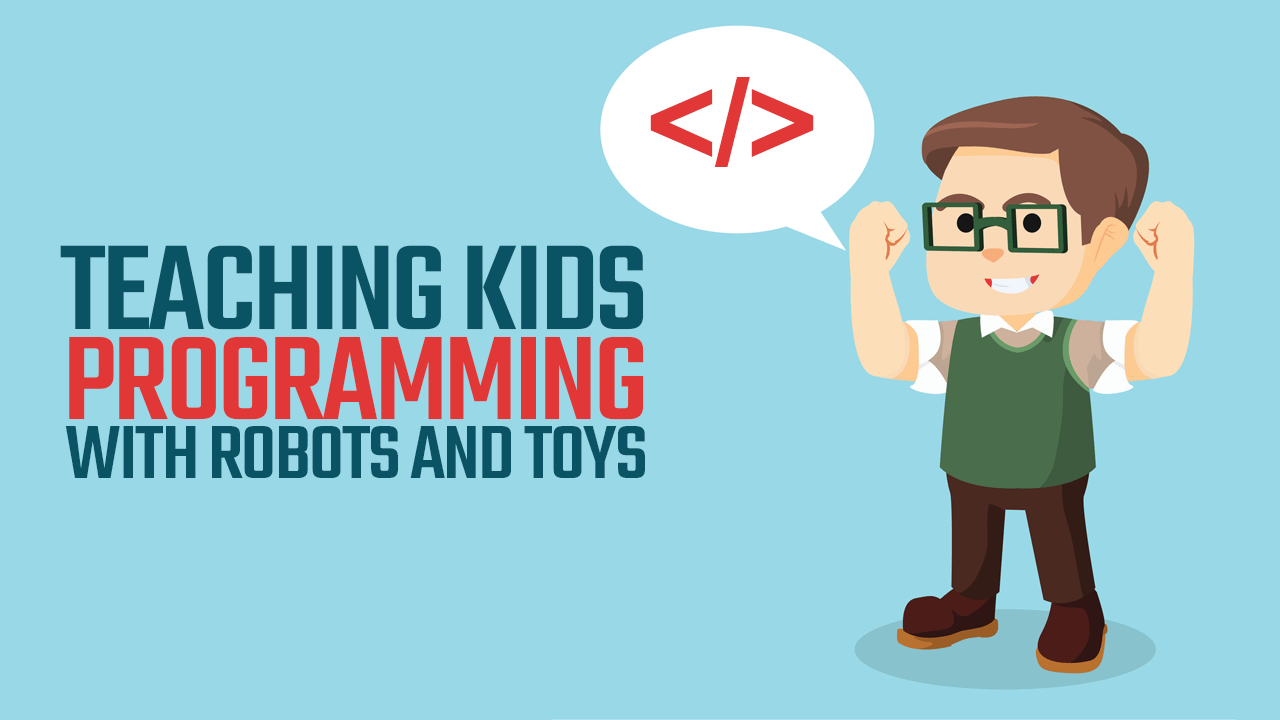
Programming for Kids (?)
Downloadable Scratch Alice 3D programming Kodu Online Code combat Advanced Blitz3D Amazon Lumberyard Compare game development platforms A youtube video that compares 6 game development engines. Google trends comparison
-
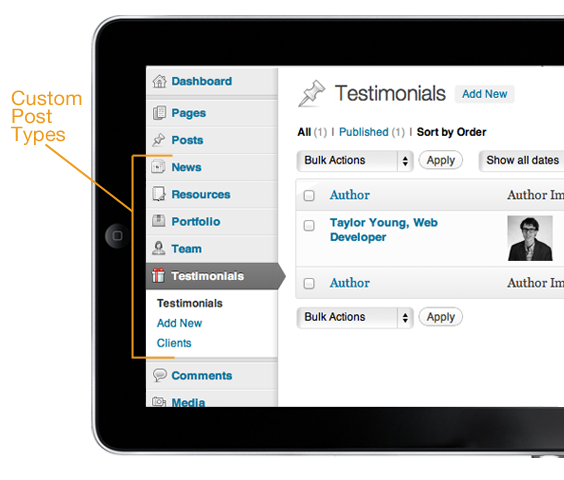
How to create post types with specific fields
Steps For this purpose install and activate the following two plugins Advanced Custom Fields Advanced Custom Post Types Under wordpress admin page, find menu item called “Content Types” Create the type you want. Under “Custom fields” create field group. At the selected field group, create under location, a rule that connects type to fields. A…
-

Install Tensorflow on raspberry pi and classify Images
Steps: Download Raspbian strech with desktop from RaspberryPi Unzip downloaded image. Using Win32DiskImager, flash a SDCARD (minimum 8GB) with downloaded Raspbian Stretch. Power up rasphberry pi with: Usb Mouse and Keyboard. Hdmi monitor SdCard MicroUsb Power spply Case of using Raspberry pi 2, plugin also usb wifi dongle. Let the Raspberry Pi power up till…
-
Python learning resources
1. Learn Python 44 Videos of Microsoft Code Academy Operations on dictionaries Cross Platform Docker – Get started Google cloud platform – Get started Python Programming – with videos Machine learning Data Analysis Game development Python Fundamentals Web Development Bots and AI Robotics GUIs GoLang – Go language 2. Developing Environment Idle – Python default…
-

WordPress / Git / Bitbucket
This post explains how to Push (put/upload updated code) to Bitbucket and how to Pull (get/download) updated code from bitbucket: Pull from Bitbucket directly into wordpress Use plugin at Github project called github-updater. View the following Youtube Video of how to configure github-updater to download a Plugin from GitHub or BitBucket. Push to Bitbucket directly from WordPress, I…
-

How to secure your wordpress site
http://researchasahobby.com/best-security-plugin-for-wordpress-combination/ 3 plugins to secure wordpress website Theme Authenticity Checker (TAC) Exploit Scanner Sucuri 9 plugins dealing with wordpress security 3 Best WordPress Security Plugins of All Time Wordfence Security iThemes Security Bulletproof Security Google Authenticator Stealth Login Page All In One WP Security & Firewall Sucuri Security – SiteCheck Malware Scanner
-

WooCommerce – A great plugin that turns your wordpress site to Virtual Shop
WooCommerce is a free eCommerce plugin that allows you to sell anything, beautifully. Built to integrate seamlessly with WordPress, WooCommerce is the world’s favorite eCommerce solution that gives both store owners and developers complete control. WooCommerce plugin Here is How to Localize WooCommerce